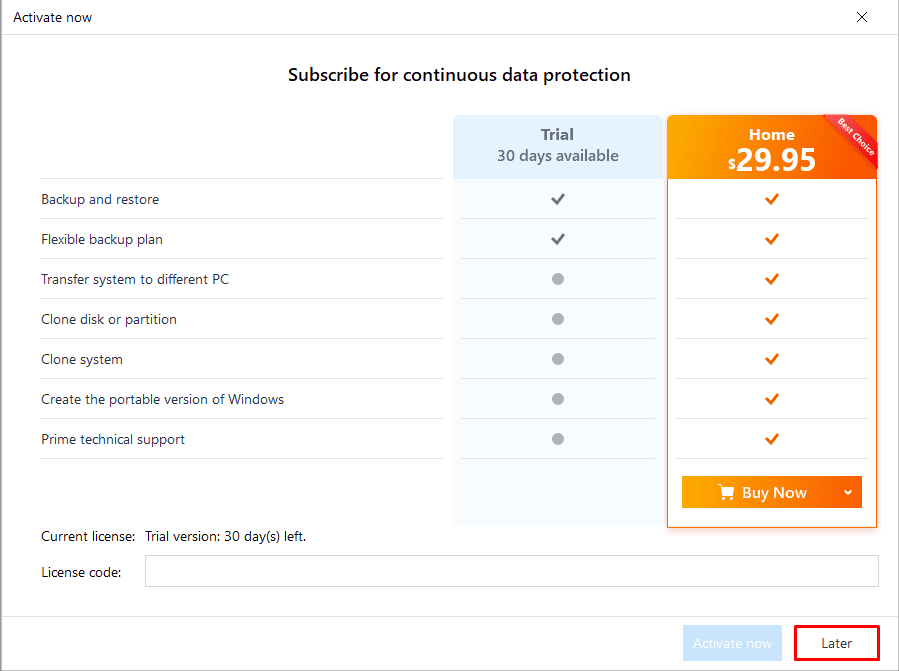
The process might seem daunting at first, but don’t worry – we’ll go through the steps together. Note: The process will also work if you wish to migrate your Windows installation from one SSD to another. However, it is very important for you to know that this process will only work if the space used on the hard disk drive (or SSD) you’re migrating your Windows installation from is less than the size of your new SSD. The total size of the original HDD / SSD can be bigger than your new SSD, as long as the new SSD has enough space to fit all the data you’ll be moving over. Before we begin the process, you’ll want to download software that allows you to clone your disk over to your new SSD – this will allow you to move your Windows installation over to it without losing any of your precious data. The software we’ll be using in this guide is EaseUS Todo Backup – a free piece of software that will allow us to do just that. (For the purpose of cloning your disk over, you’ll want to download the free trial of the Home User version) Once you install the free trial of the Home User version of EaseUS Todo Backup, you’ll want to select the “Later” option in the “Activate now” window in order to proceed with using the program. Bonus tip: If you’re moving your Windows installation to an SSD from a hard disk drive, it would be beneficial to defragment the hard disk before proceeding with data migration. Not only will this save you some space as the defragmentation process will clean some of the unnecessary data, it’ll also make the data migration process quicker as it will speed up the time your hard disk needs to access data by grouping said data closer in its sectors.
How to move Windows 10 to an SSD?
Power off your PCUnplug the power cable (you should also turn the power switch to off on the back of your PSU)Make sure to ground yourself! This step is important for your safety, as well as the safety of your components (we don’t want static electricity ruining the fun of installing a shiny new component!).If you haven’t already, plug in your new SSD (you can leave your original HDD or SSD attached)Power your PC back on
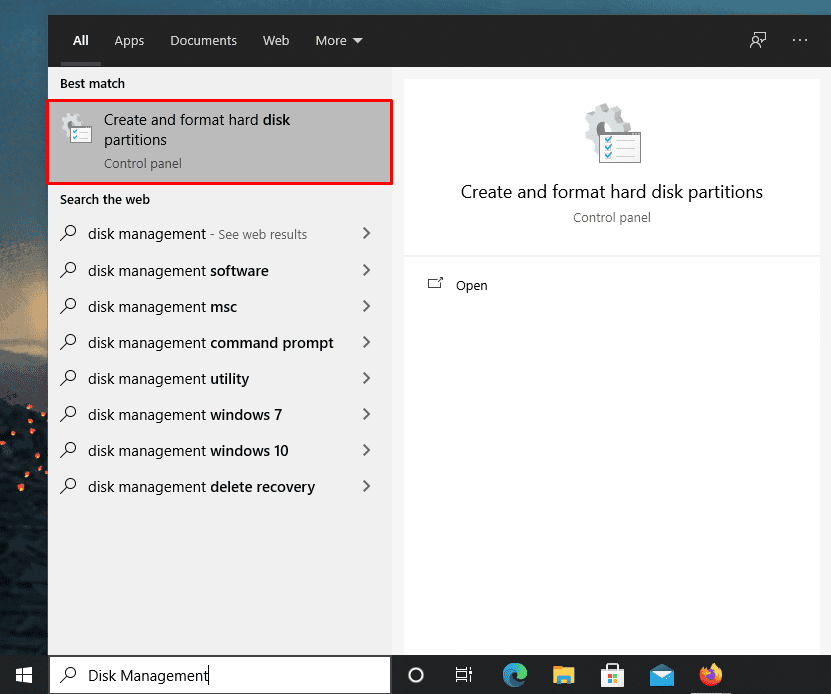
Open “Disk Management” through the Start Menu; this will allow you to do the initial setup of your new SSD (you’ll want to mark it as MBR – short for Master Boot Record)Open the EaseUS Todo Backup program we downloaded and installed before starting the process
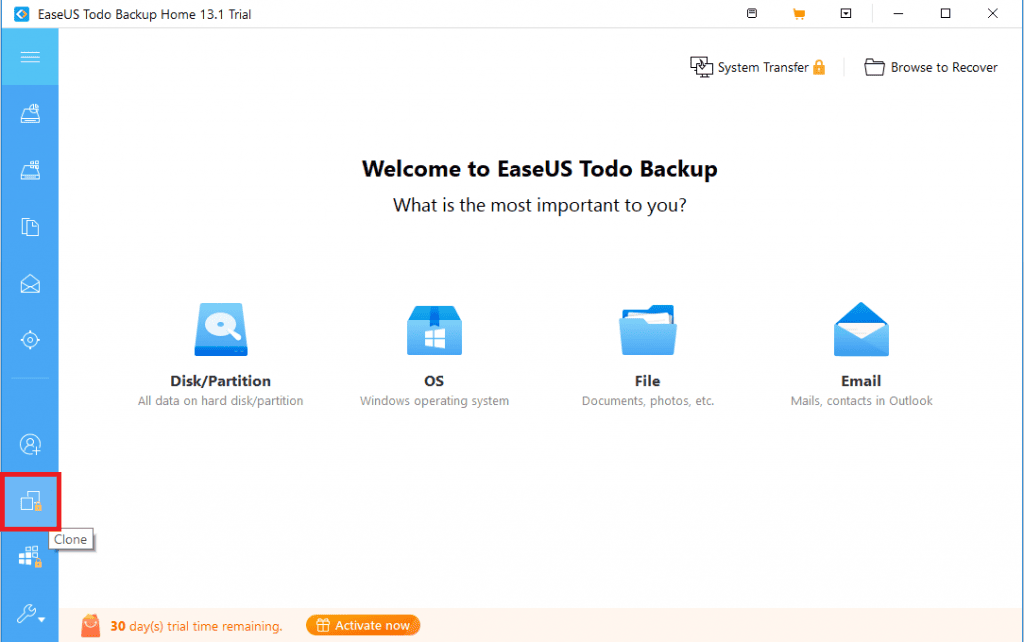
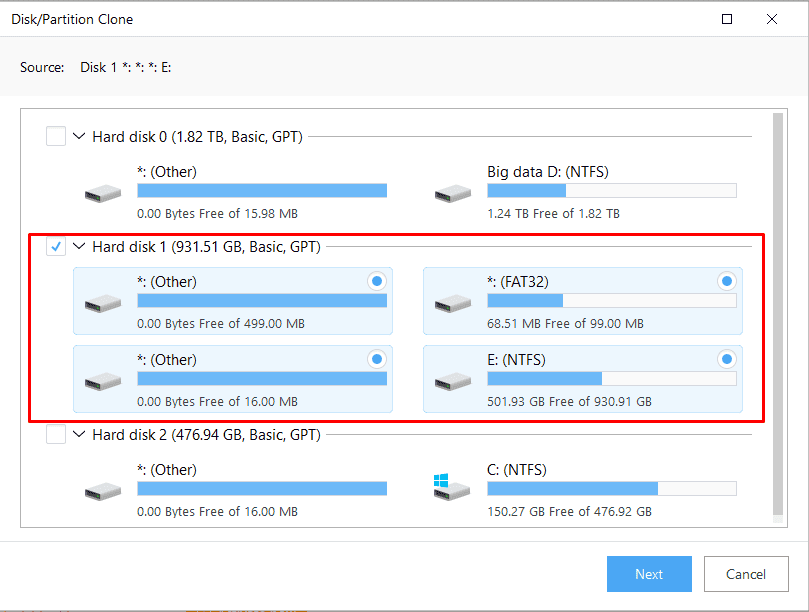
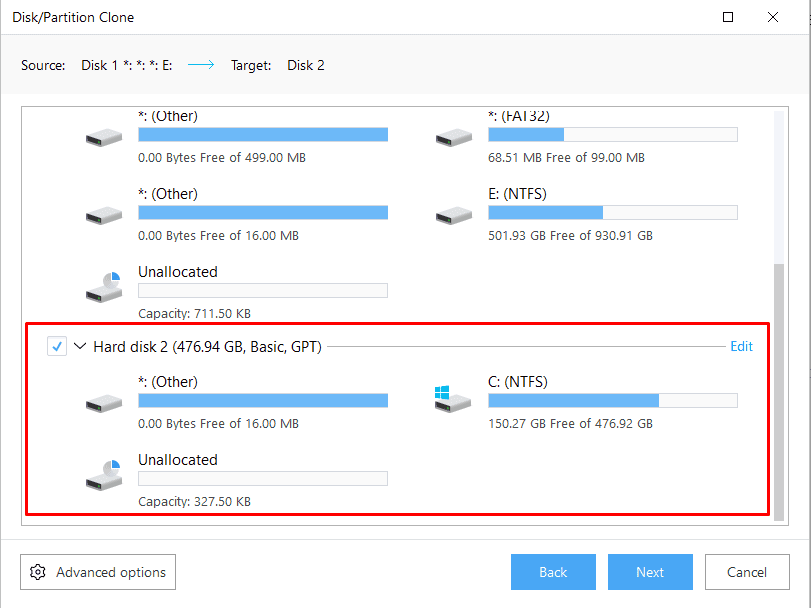
Choose the “Clone” option in the side barSelect the entire HDD (or SSD) you want to move the Windows installation from (you can do this by ticking the checkbox by the drive) as the source
Choose your new SSD as the destination
Click on “Advanced options” and make sure to check the box “Optimize for SSD” – this is important
After this, you’ll want to let the program work its magic and finish cloning your HDD (or SSD) over to the new SSDOnce the program is done with cloning your HDD (or SSD) to the new SSD, shut down your PCUnplug the power cable, turn the power switch off on the back of your PSUOnce again, make sure to ground yourself, in order to avoid getting hurt or causing damage to your components through static electricity (seriously, this happening can be a bummer!)Unplug your old hard disk drive (or SSD); leave the new SSD plugged inPlug the power cable back on (don’t forget to turn the power switch on the back of your PSU back to on as well)Power on your computer and check if it successfully boots off of your SSD and everything functions properlyReboot your PC, enter your BIOS and set your SSD as the primary boot device (this will really make your boot speed faster)After confirming that everything works, shut your PC off, unplug the power cable, turn the PSU switch to off and plug your old HDD (or SSD) back inTurn your PC on againOpen “Disk Management” again, as described back in step 6Delete all of the volumes/partitions from the old hard disk drive (or SSD)Create one large partition on the old hard disk drive (or SSD) – you can now use it as your storage drive
If you’ve successfully followed the steps above, you can pat yourself on the back – you’ve managed to move your Windows installation to your SSD without losing any data! A couple of quick things to note as well – you don’t need to create multiple partitions on your SSD; as it works using memory cells rather than sectors and cylinders, partitioning it won’t result in better performance. Also, you can use your old HDD to store large data, as you’ll probably have more space on it than your new SSD. You can also store data you don’t frequently access (read/write) on the HDD, as the difference in read/write speeds between it and the SSD won’t come into play as often.
Editors’ Recommendation
How to Disable Automatic Windows 10 UpdatesHow to Backup The Windows 10 Registry and Restore it Again
Δ Contact Us :- trendblog.guest@gmail.com