DHCP servers are present in every big network and they fulfill a really important task which is why DHCP server management is significant. When it comes down to large networks, assigning IP addresses to all the devices present in the network becomes quite the task. That’s where DHCP configuration comes in handy. However, to ensure that there are no issues with the network, you will have to monitor the Dynamic Host Configuration Protocol server as well. This can be done via the Solarwinds IP Address Manager tool. Solarwinds IPAM is a really powerful tool that lets you keep track of all the IP addresses of your network as well as it enables network admins to check which IP is being used by whom and where.
IP Address Manager (IPAM)
IP Address Manager is a really handy tool (download here) when it comes to managing vast networks as it keeps a track of IP addresses or an IP address block because every device requires an IP address to connect to the internet. Therefore, monitoring of your IP address infrastructure becomes essential as it helps you resolve IP address conflicts as well as identify unauthorized devices. IP address management tools are increasing in number, and thus, finding an efficient and effective tool can become tedious. Solarwinds has a pretty good reputation in the field of network and system management which is one of the reasons why we are using the tool. To be able to follow through this guide, you will have to make sure you have IPAM installed in your network. We already have an article that explains tracking and monitoring networks using IPAM thoroughly. If you have not deployed the tool yet, the guide will guide you through it. Furthermore, to be able to add a DHCP server to IPAM, you will have to make sure that you have already added to IPAM as an external node. The linked guide will also walk you through it in pretty easy steps. Once you are ready to begin, follow this guide through.
Adding a DHCP Server
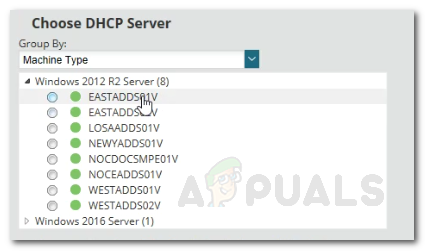
Now that you have already added your DHCP server to IPAM as an external node, you can add it as a DHCP server and start monitoring it. Once you have added the server to IPAM, network operators will be able to manage its scopes. Here’s how to add the node as a server:
Creating a scope on a DHCP Server
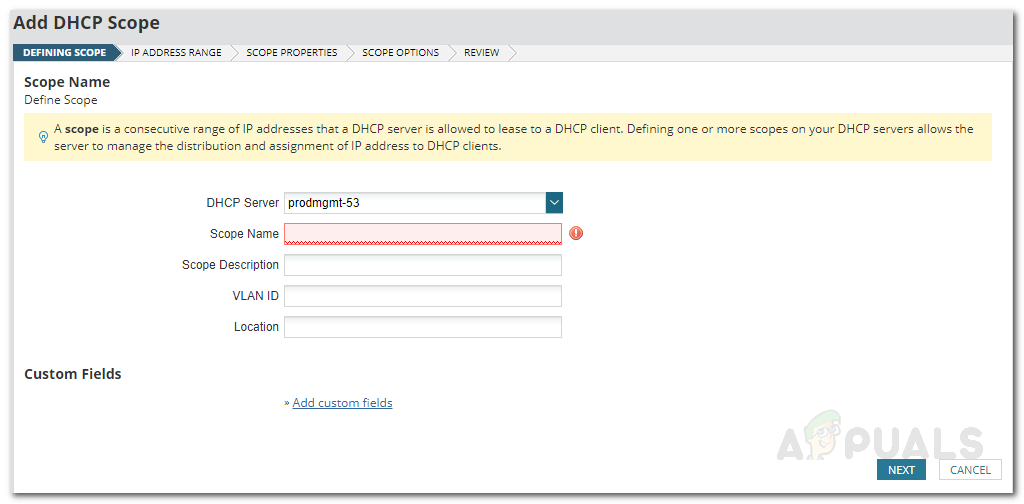
DHCP scopes are basically a range of IP addresses that the DHCP server can use to fulfill a request when made by a DHCP client. Whenever a request is made by a DHCP client, the server goes through the allocated scope to search for an available IP address. It’s recommended to have specified scopes so that your DHCP server can manage the assignment and distribution of IP addresses. Here’s how to create a scope:
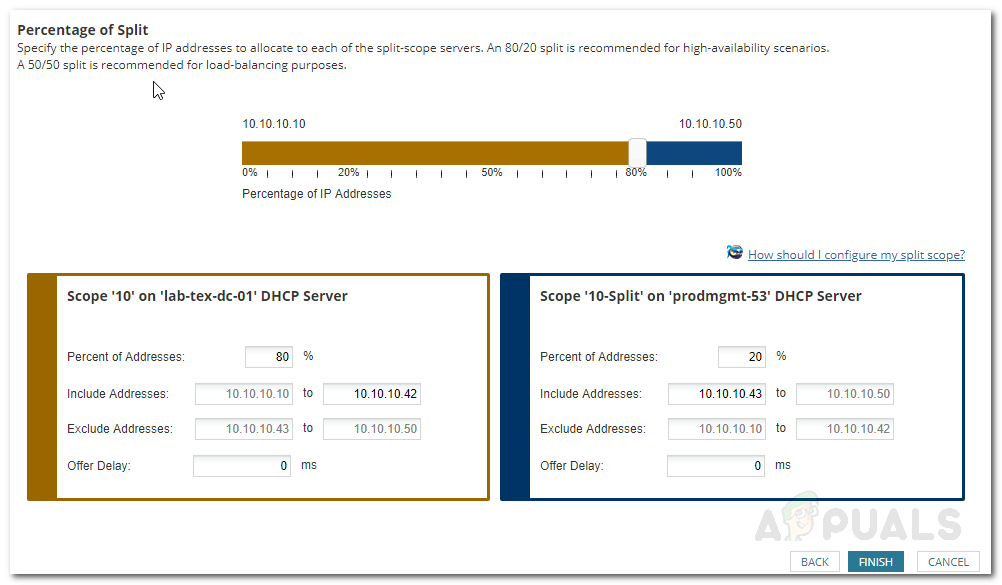
Splitting a Scope
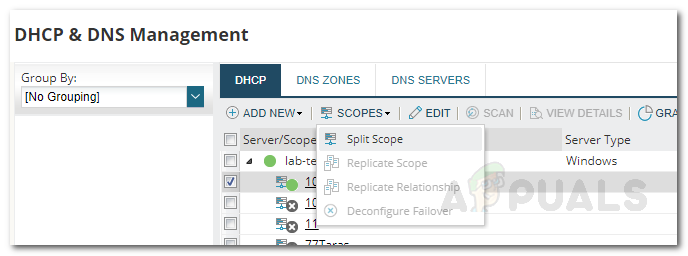
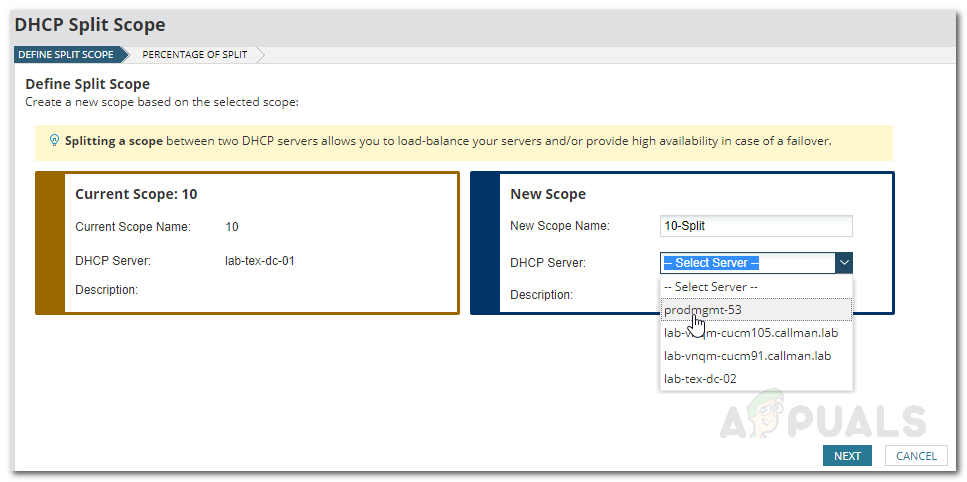
Once you have created a scope for a certain DHCP server, you can also split it between two DHCP servers to ensure better availability of DHCP services for your network. This can be done from the DHCP and DNS (Domain Name System) page. To split a scope, do the following:
How to Manage and Request IP Address Requests in IP Address ManagerHow to Monitor and Manage DNS Severs in IP Address ManagerHow to Track and Manage the IP Addresses on your Network using IP Address…How to Manage Virtual Servers using Virtualization Manager