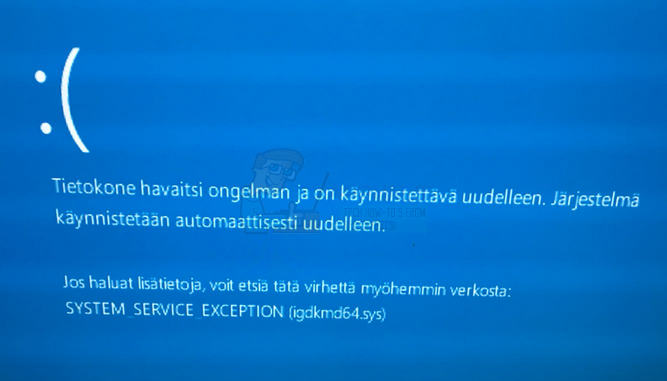
The obvious conclusion is that if you’re facing this error, along with a Blue Screen of Death, is that there is something wrong with the integrated graphics card, or its drivers. While drivers are known to cause this sort of problems more often than they should, it is also true that you may face this issue due to problems with specific software on your system.
Fortunately, be it a software issue, or problems with the drivers or operating system, there is an easy method to solve this problem. There are a few things that you can try, one of which is based on uninstalling specific pieces of software that are known to cause this issue, and the others will give you different solutions on how to deal with the drivers and graphics card.
Method 1: Check if you have ZoneAlarm, or Lucidlogix Virtu MVP GPU, and uninstall them
From all the possible pieces of software you may have installed on your machine, these two have been known to cause a BSOD with an error message blaming Intel’s drivers for the crash. For them, fortunately, the fix is fairly easy since all you have to do is uninstall them. For ZoneAlarm, however, since it is an antivirus it isn’t advisable to leave your system without any protection, so we will also outline how to install Windows Security Essentials, or enable Windows Defender (depending on the version of your OS).
Step 1: Uninstall the software
Whatever you have from the aforementioned software, the first step is to uninstall it. This can be easily done from the Control Panel. Open it by pressing the Windows key on your keyboard and typing Control Panel, then opening the result. Depending on which version of Windows you’re using, you’re looking for either Add or Remove Programs (Windows 7), or Programs and Features. Whichever it is, open it, and you will be presented with a list of software that is currently installed on your system. Find the one in question (ZoneAlarm, or Lucidlogix Virtu MVP GPU), click on it and click the Uninstall button. Follow the uninstall wizard until you have removed the software, and reboot your system in the end.
Step 2: (Only for ZoneAlarm): Install virus protection software
For users of Windows 7, you can head to Microsoft’s Website and download Microsoft Security Essentials, which will protect your system. If you have Windows 8 and above, it comes with Windows Defender, which you simply have to turn on, since it turns itself off when another antivirus software is installed. You can do this by pressing the Windows key on your keyboard, typing Windows Defender and opening the result. Once the Windows Defender window opens, click the Turn On button to enable it. Close the window and reboot your system.
Method 2: Use a System Restore Point to roll back your system
NOTE: I don’t have screenshots as I don’t use system restore, and I don’t have any points I can use to create a screenshot If you are using System Restore, and you know that there is a date before which these errors started to appear on your system, you can always use it to go back to that point. To do this, you should open the Start menu by pressing the Windows key on your keyboard, and type Restore in the dialog box, then open the System Restore result. Click Next, and you will be presented with a list of restore points. Select the date and time when you know that your system was fully working and click Next, then Finish.
Method 3: If you have a discrete GPU, disable Intel’s integrated one
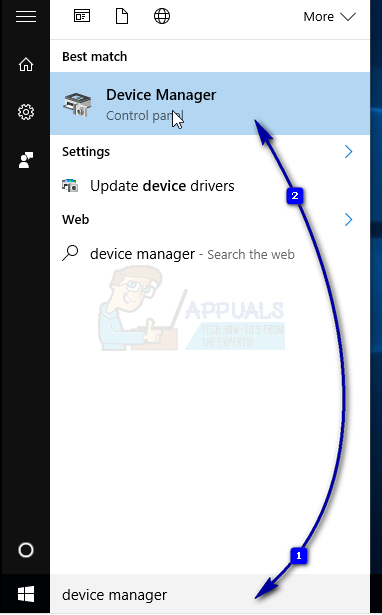
If you have a discrete GPU in your system from the likes of AMD or Nvidia, you can try disabling Intel’s integrated one to prevent the issues that it causes. The first thing to do is to shut down your computer, and unplug the graphics card. Turn on your computer, and after that you need to open Device Manager. Do this by pressing Windows Key on your keyboard, typing Device Manager and opening the result.
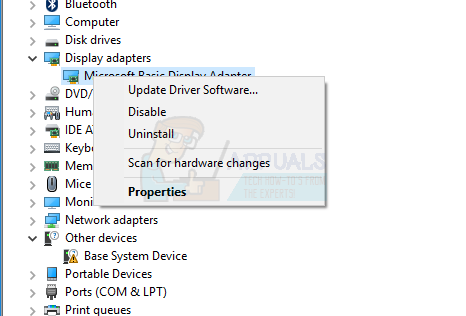
Once inside, you should expand the Display Adapters, and locate Intel’s integrated GPU. Right-click it, and select Disable from the dropdown menu.
After this is done, turn off your computer and plug in your graphics card again. Turn the computer on again and everything should be working.
Method 4: Use Windows’ Force Update to update the drivers for Windows 10
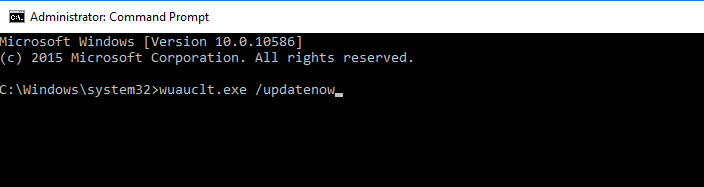
If Windows Update won’t solve the problem, you can use the Force Update to try and get newer drivers. You should first download everything Windows Update has to offer. To do this, press the Windows key on your keyboard and type Check for Updates. Open the result, and press Check for Updates. Do this repeatedly until there are no updates available and it says Your device is up to date. Once you’ve done this, open This PC and navigate to C:\Windows\SoftwareDistribution\Download and delete everything inside. Once you’ve done this, open an Elevated Command Prompt, by pressing Windows and X simultaneously on your keyboard, and selecting Command Prompt (Admin) from the menu. When inside, type wuauclt.exe /updatenow and press Enter on your keyboard. Once that’s done, close the command prompt and reboot your system.
Ever since this error first started appearing, there have been a few updates to both Intel’s drivers and Windows itself. However, if you’re still facing it, you can try any of the aforementioned methods to solve it.
How to Fix igdkmd64.sys BSOD on Windows 10FIX: SYSTEM_SERVICE_EXCEPTION (asmtxhci.sys)FIX: SYSTEM_SERVICE_EXCEPTION (rtkvhd64.sys)FIX: SYSTEM_SERVICE_EXCEPTION (ntfs.sys)