If you started to experience this problem after installing a pending update, the issue is likely a direct consequence of a bad update. However, other potential culprits include problematic network connection policies, unsaved Microsoft account password (due to Windows Hello), misconfigured registry keys (NC_PersonalFirewallConfig & NC_ShowSharedAccessUI), firewall interference, corrupted Windows account, and corrupted Windows files. To help you troubleshoot this issue, we’ve prepared a series of confirmed-to-work fixes that other affected users have used successfully to restore the functionality of the network sharing feature on Windows 11.
1. Install the latest cumulative updates
In the usual Microsoft feature, it seems like this recent surge of user reports experiencing this issue was caused by yet another bad Windows update deployed on retail and insider builds of Windows 11. There are two bad updates that are most likely responsible for this issue:
Cumulative update for .NET Framework 3.5 and 4.8 for Windows 11 for x64 (KB5013889)Cumulative update for Windows 11 for x64 (KB5014697)
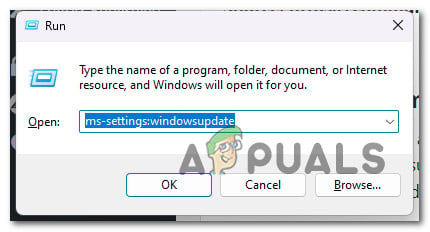
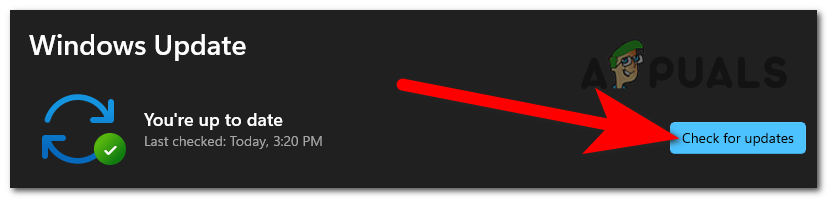
If you started experiencing this issue after installing one of the above-mentioned updates, you’re among the many Windows 11 users affected by this problem. Fortunately, the fix is quite easy – all you need to do is install the latest pending updates to resolve the issue. Microsoft has already pushed a couple of hot fixes addressing this issue. Follow the steps below to ensure that your Windows 11 computer is updated to the latest build: If the same issue is still occurring, move to the next method below.
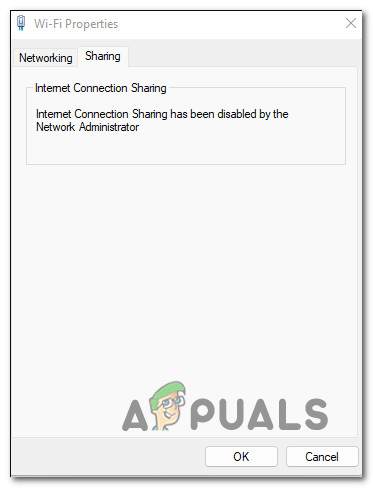
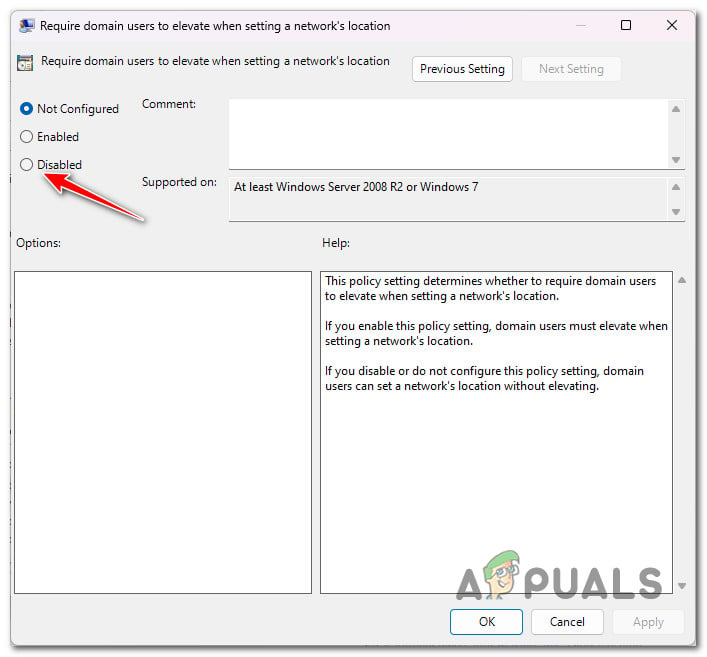
2. Disable problematic Network Connection policies
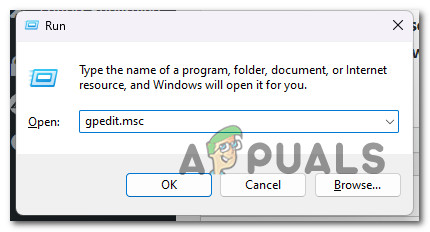
Before you troubleshoot any other component, move towards investigating whether a network policy is currently triggering this type of issue. Remember that a few administrative policies might keep your OS from sharing network bandwidth. Note: These policies might be enforced locally or at an administrative level. If this issue started occurring recently after you used the Local Group Policy Editor to adjust some Network Connection policies, you should be able to fix it by making sure the following are disabled: Important: The Local Group Policy Editor is only available with Pro and Enterprise editions of Windows 11. If you are using an Education, Home or N version of Windows, install the Local Group Policy Editor (gpedit.msc) manually before following the steps below. Here’s a quick guide on disabling a series of potentially problematic Network Connection policies that might prevent network sharing on Windows 11: If you’re still unable to enable network sharing on your Windows 11 computer, try the next method below.
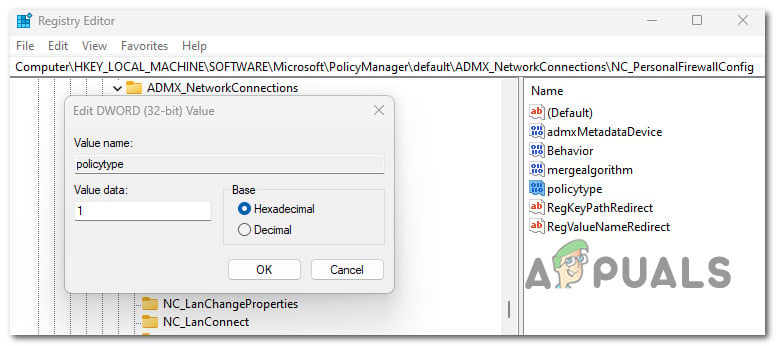
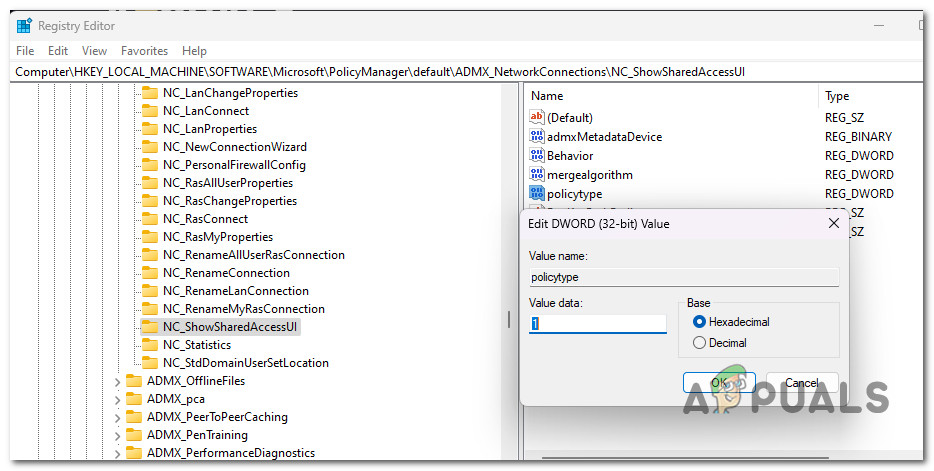
3. Update DWORDs for NC_PersonalFirewallConfig & NC_ShowSharedAccessUI
If network sharing remains disabled even though you used the method above to ensure that this feature is not disabled by a network or local policy, the next step is to ensure that this issue is not caused by a registry key (or two). There are two Registry keys that you should investigate:
NC_PersonalFirewallConfigNC_ShowSharedAccessUI
Depending on how your Registry is configured, you might find that the network feature remains disabled even though you reconfigured your local policies because one (or both) of the keys above are set to 0. Note: 0 means that the registry key is not configured, which likely means your network-sharing feature is permanently disabled. To fix this issue, you’ll need to use Registry Editor to update the policy values of NC_PersonalFirewallConfig and NC_ShowSharedAccessUI to 1. Here’s how to do this: If the same issue is still occurring, move to the next method below.
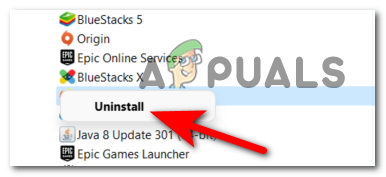
4. Disable 3rd party firewall & AV
Depending on which firewall solution you’re using, it’s possible that your security suite is preventing data from being shared across your network. There are several security suites that are known to restrict the network sharing feature on Windows 11. Comodo Antivirus, Norton Antivirus, and BitDefender (among others) have highly restrictive firewall solutions that might cause this issue. Note: This issue is not confirmed with the built-in Windows Security (Windows Defender). According to other users that successfully troubleshot this issue, you might be able to enable network sharing by temporarily disabling the 3rd party AV or firewall component. In most cases, you will be able to do this directly from the taskbar icon of your AV. Note: Some all-in-one AV suites will allow you to disable the firewall component separately. If that option is available in your case, go for it. If the 3rd party AV suite you’re using doesn’t allow you to disable the firewall component, the only way to see if your security program inhibits the network-sharing feature is to uninstall it temporarily. Here’s how to do this: If the problem is still not fixed, move to the next method below.
5. Create a new ‘netuser’ account (with admin access)
One temporary fix worth mentioning before you go for one of the radical options below is to create a new account on your Windows 11 machine named ‘netuser‘ and give it full access & administrative rights. Other users that tried this method have reported that they could successfully map their network drives and connect using the newly created credentials (for netuser). Sadly, most users that deployed this fix have reported that it was only temporary, and their network sharing functionality has stopped functioning after a couple of restarts. If you want to give this method a try regardless, follow the steps below: If the same problem is ongoing, try the final potential fix below.
7. Repair install or clean install Windows 11
If none of the earlier suggestions in this article successfully aided you in solving your issue, you should consider that some system file corruption is causing this problem. Since numerous system files fit the offender’s profile, the best course of action is to just replace every system file with a counterpart that you know is healthy and untouched by corruption. You may achieve this using any of these methods:
Clean install – Give this a shot if you’re looking for a quick fix. The biggest drawback of clean installing Windows is that it will delete all of your files and applications that are now stored on the same drive as your operating system unless you have a backup of your data beforehand. This is because a clean installation of Windows will enable you to replace all system files without the usage of installation discs.In-place repair (repair install) – If you have some free time, we suggest using an in-place repair. The key advantage of this process is that all your data, games, and apps are kept intact, even though it is a little more time-consuming and requires appropriate Windows 11 installation DVDs.
Fix: Windows no Longer Detects a HomeGroup on this Network Error on Windows 10Fix: The specified network name is no longer availableHow to Give Devices Access to Your Wi-Fi Network Without Sharing the PasswordHow to Fix ‘Your PIN is No Longer Available’ on Windows 11