This process is found in the System32 folder and is known to be a fairly important process on Windows. However, as useful this process might be, it often causes various problems such as it consumes a lot of resources (CPU) for indefinite periods of time. There were some cases where this process consumed 100% of one of the logical processors all the time. There are several workarounds which address this issue. Start with the first one and work your way down accordingly.
Solution 1: Updating Windows
Apparently, Microsoft took immediate notice of ‘SettingSyncHost.exe” consuming huge amounts of CPU and directed its engineers to work on the solution. Fairly sometime after, a series of updates were rolled out by the giant which targeted this problem as well as other bugs. If you haven’t updated your Windows for any reason, make sure you perform all the updates immediately. Operating systems require frequent updates and bug fixes in order to run smoothly without any problems. Do note that you require an active internet connection to update your computer.
Solution 2: Adding Ownership for a Registry Key
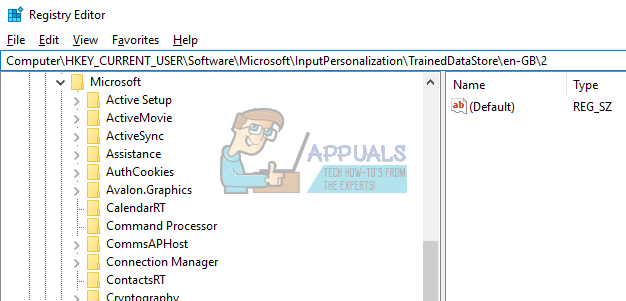
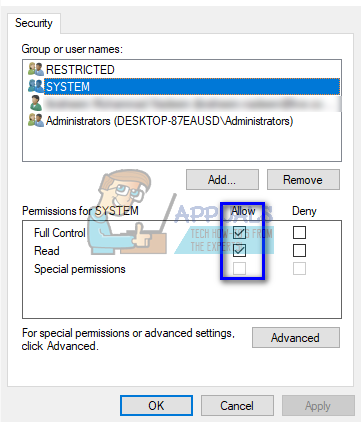
In some cases, it seems that the process ‘SettingSyncHost.exe’ keeps trying to write a file to a specific directory and then update a registry key but fails because it doesn’t have the permissions. It keeps writing the files over and over and tries again and again; this is what causes the high CPU usage on your computer. We can try taking the ownership of the registry key on your computer and check if this changes anything. Do note that you may require administrator privileges to perform this solution. HKEY_CURRENT_USER\Software\Microsoft\InputPersonalization\TrainedDataStore\en-GB\2
Solution 3: Running a PowerShell Script (Only for Advanced Users)
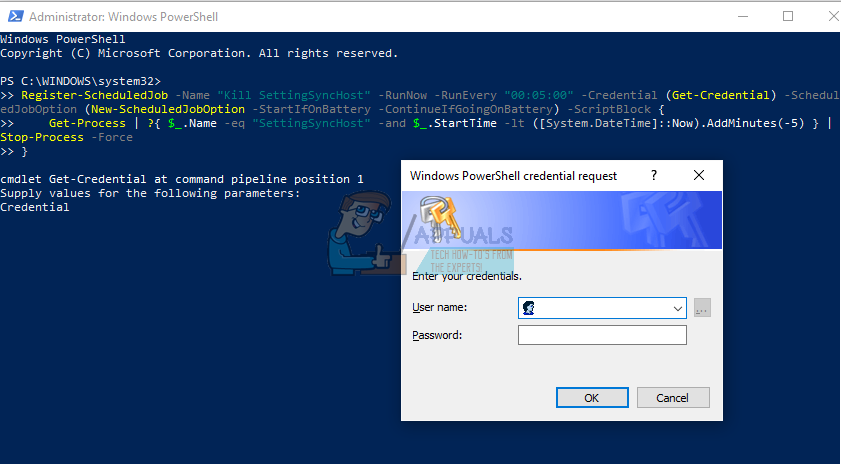
If both the above solutions don’t work, we can try writing a PowerShell script. This script functions to kill the process ‘SettingSyncHost.exe’ from your computer every five minutes. Do note that you will be required to enter your credentials to register the job on your computer. This solution is for advanced users only who know what they doing.
As you can see, you will be required to enter credentials before you can register the job on your computer. After entering the credentials, check if the process ‘SettingSyncHost’ gets terminated automatically. If it doesn’t, try restarting your computer and check again.
Solution 4: Force Disabling SettingSync
If none of the solutions above have helped you at all, you can disable the SettingSync host. You will lose functionality such as getting your settings synced when you Install a new Windows but it’s definitely worth it, besides you can enable it later if you are not satisfied with the results. If you don’t want to disable this option, you will have to check if this process is blocked by your firewall or you will have to disable your anti-virus for some time. After that check to see if the issue persists and let us know how it goes.
DISM Host Servicing Process High CPU Usage? Here’s how to fixFix: Windows Host Process Rundll32 High Disk and Cpu UsageWhat is ‘Modern Setup Host’ and How to Fix High Disk Usage by Modern Setup Host?Fix: WMI Provider Host (WmiPrvSE.exe) High CPU Usage On Windows 10